Ingestre Park Golf Club![]()


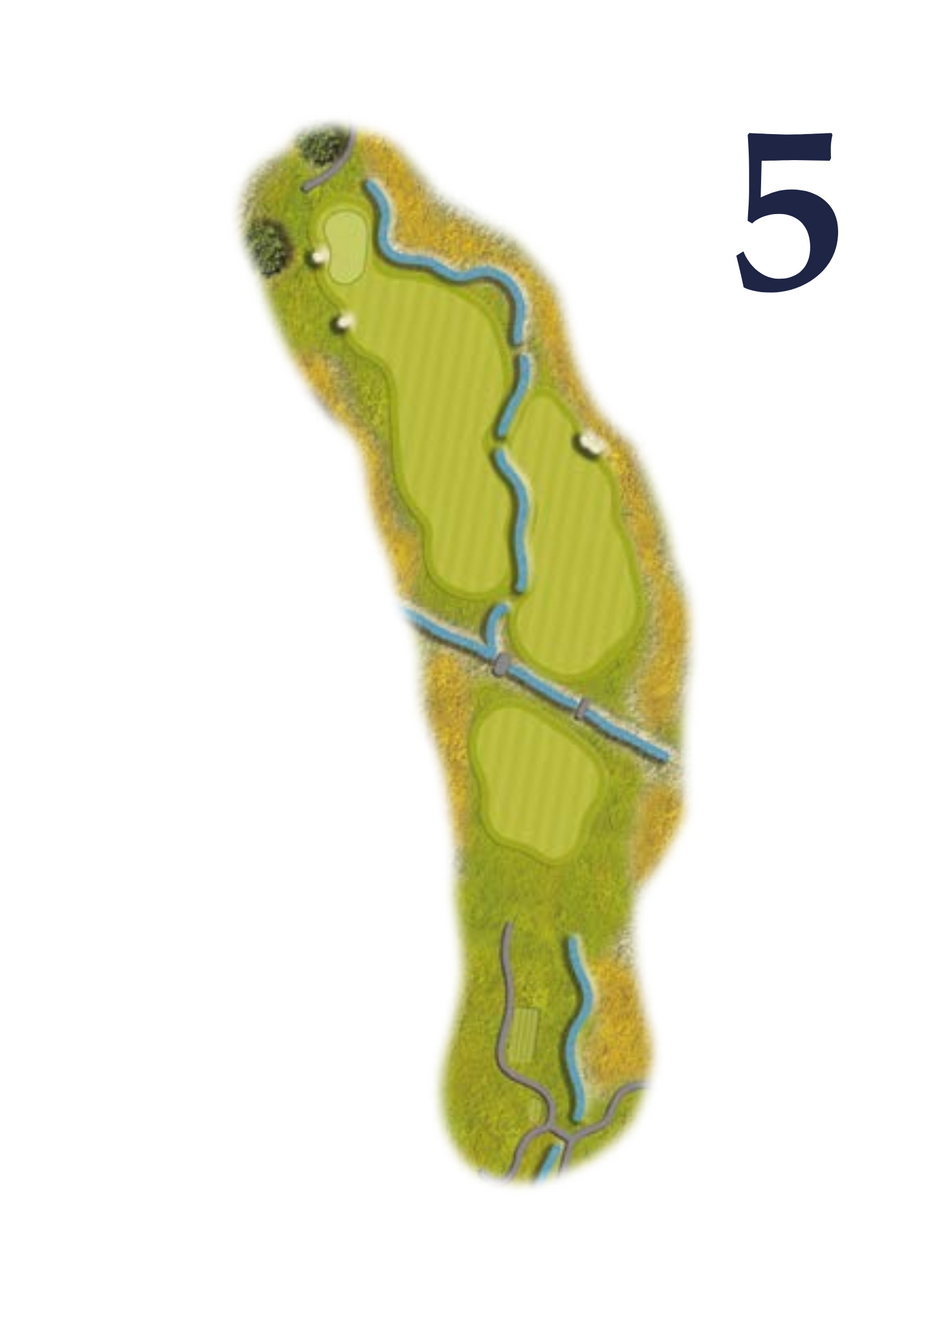
Hole 5

Pro Tip
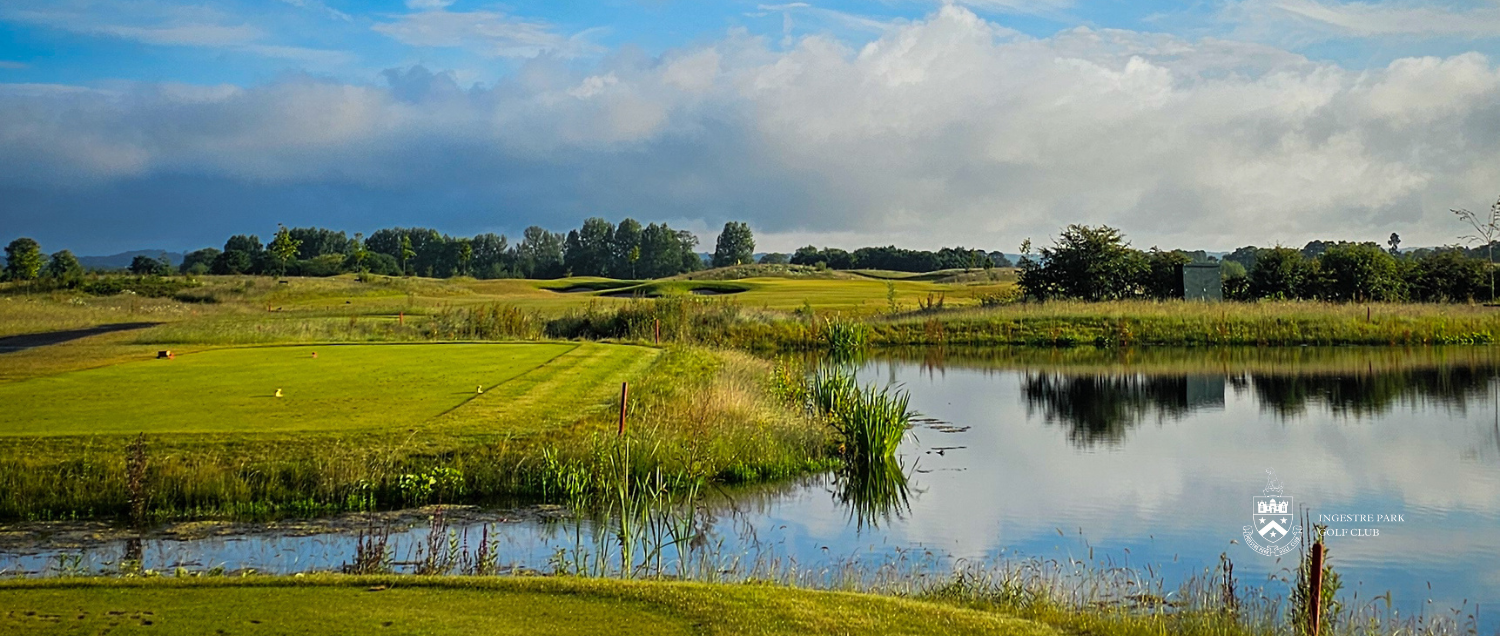
Hole 5 – 412 Yards – Par 4 – Stroke Index 1
Pro’s Tip:
A demanding hole that earns its Stroke Index 1 status. From the tee, you’re immediately faced with a strategic decision: the fairway is split into three sections, with a ditch cutting across from left to right, and another running up the middle, bisecting the dogleg.
If you can carry the cross-ditch, you must then choose your line — right for a shorter carry but a longer second shot, or left for a more difficult carry that rewards you with a significantly shorter approach.
The second shot is more straightforward, but still not easy. The green is protected by bunkers on the left and a ditch to the right, so accuracy is vital. Smart course management is essential if you want to escape with par here.
Testimonials


Created by intelligentgolf version 10.1.2.